
How to Roll a Joint: The Step-by-Step Guide for Beginners (and the Fixes for the 6 Mistakes That Ruin Most Joints)
Rolling a clean, even-burning joint is mostly mechanical — once you understand grind, distribution, tuck, and lick, the rest is repetition. Here's the whole process in order, plus how to diagnose the canoe-burn, the runner, and the loose tip every beginner deals with.
Rolling a joint is one of those skills that looks intuitive until your first attempt comes out shaped like a banana and burns down one side like a fuse. The good news: the underlying mechanics are simple. Once you understand the four sequential moves — grind, distribute, tuck, lick — the rest is repetition. Your tenth joint will be twice as good as your first; your fiftieth will be as good as a dispensary pre-roll.
This guide walks the full process in order. Then it covers the six rolling mistakes every beginner deals with and how to diagnose them from how the joint burns. Then paper choice, tip choice, and when a pre-roll just makes more sense.
What You Need
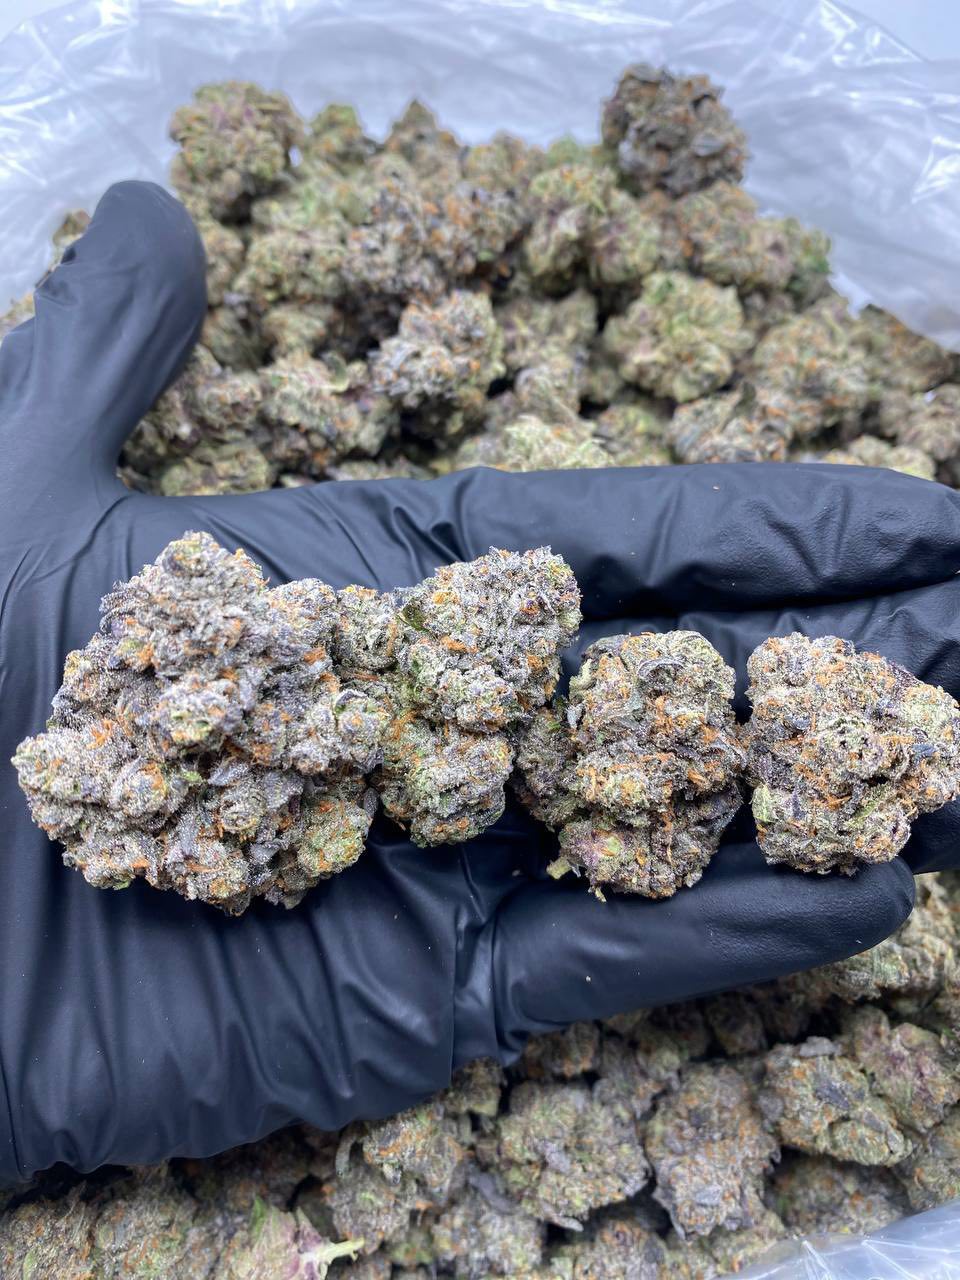
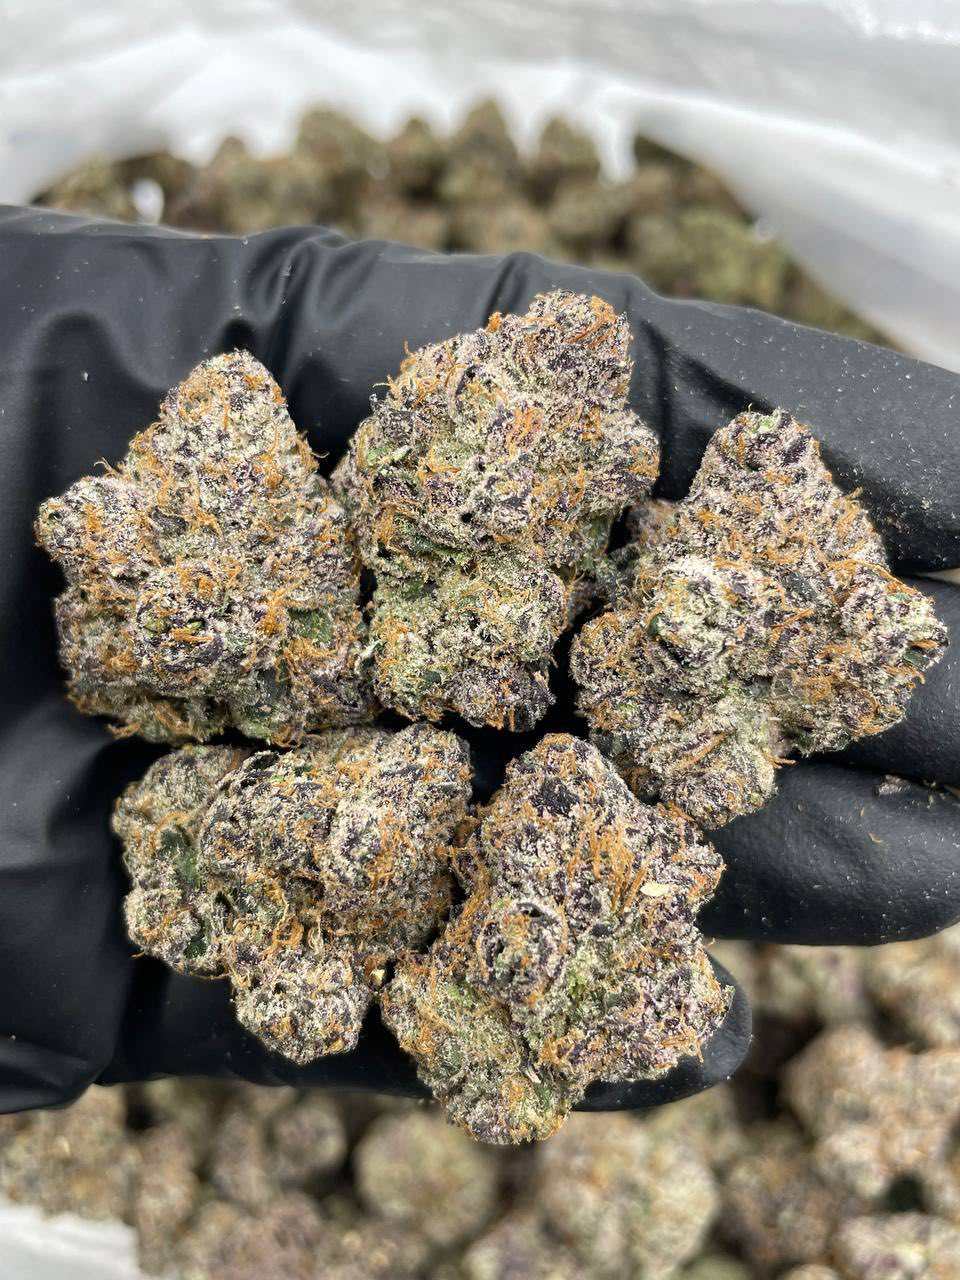
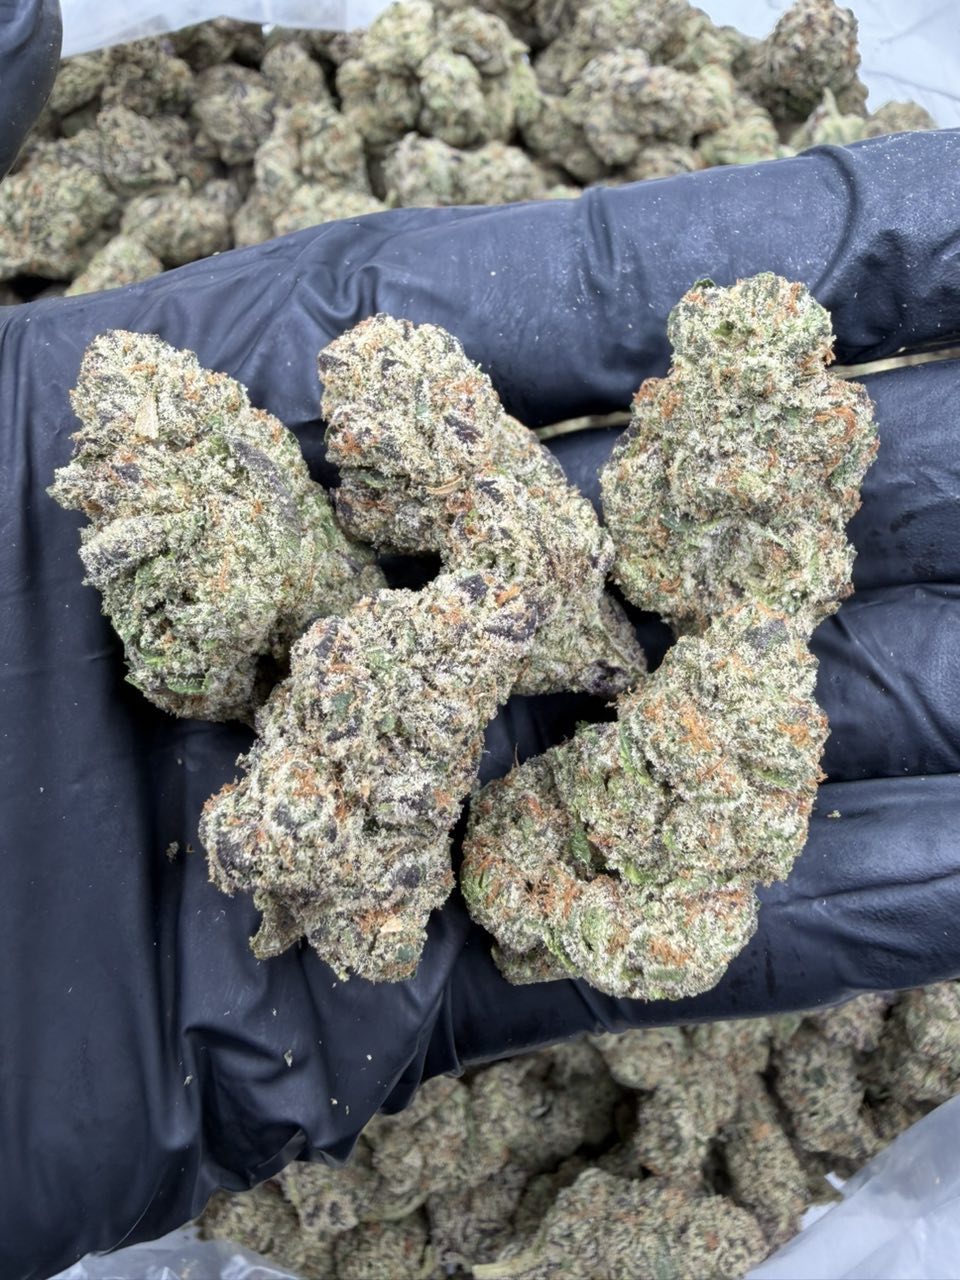
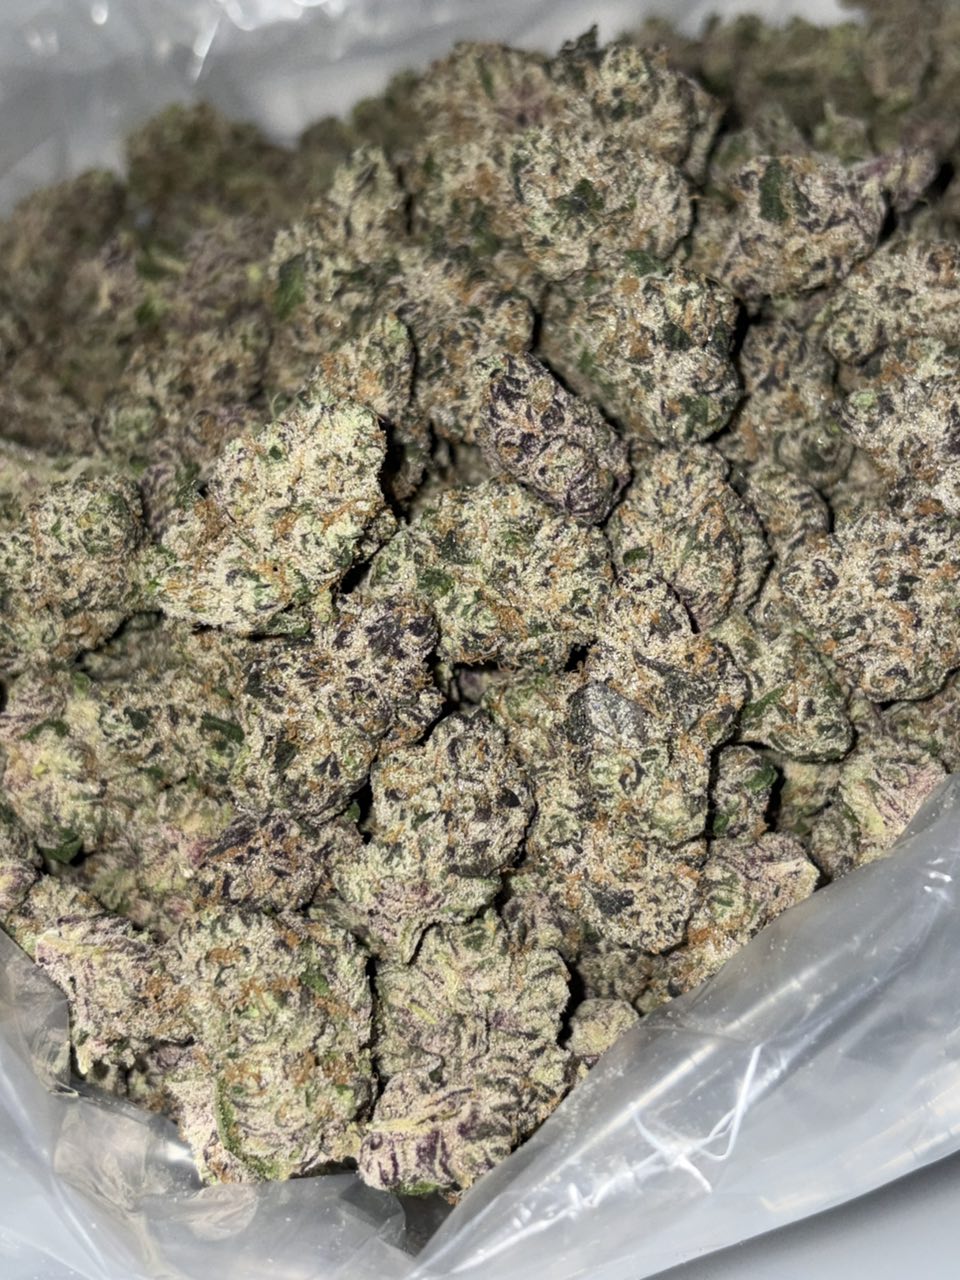
Flower. About 0.5–1g for a standard 1¼ joint. Use something fresh — dry flower crumbles to dust during the grind and rolls like sand. Browse our Top Shelf Drops for properly cured flower.
Papers. 1¼ size, hemp or rice. RAW, Elements, OCB. Avoid flavored and avoid king-size for your first dozen.
Tips/crutches. Pre-made tip booklets or any thin card stock you can cut into a 2cm × 5cm strip.
Grinder. 2-piece or 4-piece. A 4-piece collects kief separately, which is a small luxury that adds up over time.
A flat surface. Tray, hardcover book, anything you can collect spillage on. Rolling over carpet is a tax you don't have to pay.
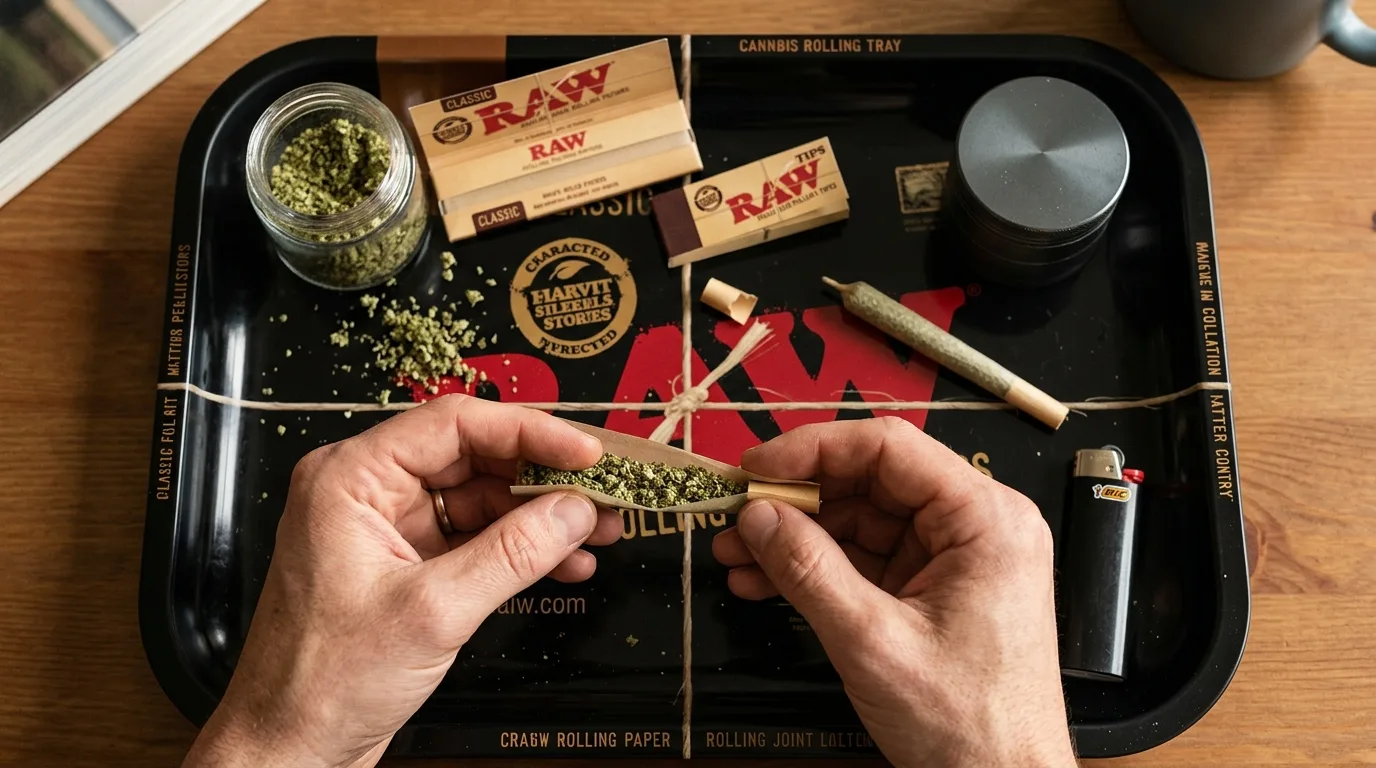
The 7 Steps
Step 1 — Grind to a Medium Consistency
Break the bud apart with your fingers first to pull out any stem fragments — stems poke through paper and ruin a joint mid-smoke. Then grind to a medium consistency: coarser than for a vape, finer than ripped-by-hand. You want it to fall through your fingers when you pinch a small amount, but you should still be able to see individual fragments.
Common mistake: Over-grinding to powder. Powder packs too dense for air to draw through. If your joint feels rock-hard after rolling and you can't pull a hit, your grind was too fine.
Step 2 — Fold the Crutch
Take a tip strip about 2cm × 5cm. Make three or four narrow accordion folds at one end — about 3mm wide — then roll the rest of the strip around the folded section to form a cylindrical filter with a star or W shape inside. The accordion catches flower; the cylinder gives the joint structure.
Step 3 — Set Up the Paper
Hold the paper between your thumbs and forefingers, gum strip facing up and away from you. The crease in the paper (the natural valley) should be facing you. Drop the crutch into one end — it doesn't matter which end as long as you're consistent.
Step 4 — Distribute the Flower
This is the move that determines whether the joint canoes or burns evenly. Sprinkle ground flower along the entire length of the paper, including over the crutch. Aim for a slightly tapered tube — a touch thicker in the middle, slightly thinner at the burn end (the open end). Don't dump it in one spot and hope to spread it later.
The distribution step is where most beginners ruin the joint. Take an extra ten seconds to make a smooth, even tube of flower along the whole paper. Everything downstream gets easier.
Step 5 — The Pinch and Roll
Pinch the paper between your thumbs and forefingers, with the flower contained in the cradle. Roll the flower back and forth a few times to compact it into a tube shape and remove the loose fluff between fragments. This is the 'shape' step — you're forming the joint before you fold.
Step 6 — Tuck and Roll
Tuck the side of the paper closest to you down and under the flower, using the crutch as a pivot point. Once the front edge of the paper is tucked under the tube of flower, use your thumbs to roll the joint forward, wrapping the front paper around. Stop when only the gum strip is exposed.
Step 7 — Lick and Seal
One deliberate pass with the tip of your tongue along the gum strip — just enough to activate the adhesive. Then roll the gum strip down over the joint and press gently along the seam to seal. Twist the open burn end shut, leaving a small wick if you like. The joint is done.
Optional: Pack the open end gently with a pen or a chopstick to settle the flower. This makes the first few hits draw evenly.
The 6 Common Mistakes (and How to Diagnose Them)
1. The Canoe
Symptom: One side of the joint burns much faster than the other, forming a 'canoe' or 'runner.' Cause: Uneven flower distribution — one side packed denser than the other, so the looser side burns faster. Fix: Take more time at the distribution step. Lick the burning side gently to slow it down mid-smoke if you can.
2. The Banana
Symptom: Joint comes out curved like a banana. Cause: Uneven thickness along the length — fatter in the middle, thinner at one end, with the fatness migrating during rolling. Fix: Distribute the flower as a smooth tapered tube before tucking. Don't pinch one end tighter than the other during the roll.
3. The Loose Joint
Symptom: Joint draws too easily, burns fast, flower falls out the open end. Cause: Not enough flower, or not packed tight during the pinch step. Fix: Add more flower, or pack the burn end with a pen after rolling to compress the tube.
4. The Rock
Symptom: Joint won't draw — you suck hard and almost nothing comes through. Cause: Too tight a pack, often because of over-fine grind. Fix: Grind coarser next time. For the current joint, roll it gently between your palms to loosen the pack slightly.
5. The Runner
Symptom: Joint develops a fast burn line down one side that races ahead of the cherry. Cause: Almost always paper-related — a tear, a thin spot, or a bad seal along the seam. Fix: Lick the runner to slow it down. Next joint, check the paper for tears before rolling and seal the seam carefully.
6. The Unraveler
Symptom: Joint comes apart along the seam mid-smoke. Cause: Either you didn't lick the gum strip enough or you licked too far past it, contaminating the seal. Fix: Practice the lick — one deliberate pass along the gum strip only.
Paper Choice — What Actually Matters
Size
1¼ is the standard. 0.5–1g of flower fits cleanly. Singles are smaller (good for solo sessions). King-size is for groups — but king-size joints unravel more easily, so wait until your hand is steady before attempting one.
Material
Rice papers — burn slow and clean, almost flavorless. Best for taste. Slightly more prone to tearing during rolling.
Hemp papers — more forgiving for beginners. Slightly thicker, slightly more 'paper taste' but still clean. Most pros use these for daily rolling.
Wood pulp (classic white) — burn fast and produce noticeable paper taste. Cheap. Acceptable when nothing else is available.
Avoid: Flavored papers (cover up the flower, often contain artificial ingredients), bleached papers (the white comes from chlorine bleaching).
When to Just Buy a Pre-Roll
Hand-rolling is a skill worth having, but pre-rolls earn their place. Times when buying a pre-roll makes more sense than rolling your own:
Travel — you don't want to roll in a hotel room or at a festival.
Sharing — pre-rolls share cleanly with guests who don't smoke often.
Speed — when you want to smoke in 30 seconds, not 5 minutes.
Consistency — pre-rolls are machine-packed for consistent draw and burn.
Joints vs Disposables
If you want the convenience of a pre-roll without the smoke smell, THCa disposables are the obvious cousin. Pocket-sized, discreet, fast, no rolling. See our disposables vs cartridges comparison for the format breakdown.
Practice Schedule
Get rolling-fluent in two weeks:
Days 1–3. Roll three joints a day. Don't smoke them — focus on technique. Re-roll if needed.
Days 4–7. Roll two joints a day, smoke the better one. You'll start noticing which technique tweaks fix which problems.
Days 8–14. Roll one joint a day. Should consistently come out smooth, even-burning, tight at the seam. Now you're rolling.
Where to Buy Flower for Rolling
Rolling joints rewards fresh flower. Dry, brittle flower turns to dust during the grind and rolls poorly. Our Top Shelf Fresh Drops catalog rotates weekly so you're always getting recently cured flower.
For daily smokers and practice rounds, $70 Smalls gives you the same lab-tested genetics at a price that makes 'practice joints' guilt-free.
Related Reading
Best Strains for Beginners — what to pack in your first joints.
THCa Flower vs Concentrate — when flower is the right pick.
Disposable vs Cartridge — when the pre-rolled cousin makes more sense.
How to Dose THCa — how much to pack and how often to puff.
Disclaimer: This article is for adults 21+ in states where hemp-derived THCa is legal. Smoking carries health risks. Cannabis affects individuals differently. Don't drive or operate machinery while under the effects of cannabis.
Shop the read
What the writer recommends
6 hand-picked products


Further reading
Resources & References
Quick answers
Frequently asked
Canoeing — when one side burns faster than the other — almost always comes from uneven flower distribution along the length of the joint. Heavier-packed sides burn slower; lighter sides burn faster. Fix: distribute the flower as a smooth, even tube along the entire paper before you tuck.
1¼ size rice or hemp papers from RAW, Elements, or OCB. Rice papers burn slow and clean but tear more easily. Hemp papers are more forgiving for beginners — slightly thicker, less prone to ripping, still clean-burning. Avoid flavored papers and avoid king-size while learning.
Yes, almost always. A crutch (also called a tip or filter) keeps flower out of your mouth, prevents the tip from collapsing, and gives the joint structure to roll around. Buy pre-made tips or fold one from a thin card. The pinched-paper-with-no-filter approach is doable but harder.
Medium grind — coarser than for a vape, finer than ripped-by-hand. Too fine and the joint packs too dense and won't draw. Too coarse and it burns unevenly and runs. A 2-piece grinder set to medium gives the right consistency.
No. The gum strip needs to be wetted to seal. Lick the strip just enough to activate the adhesive — too wet and the paper warps; too dry and the joint unravels. A single deliberate pass with the tip of your tongue is the right amount.
Keep reading
More from the editorial
Articles in How To and across the WHAM Read.
 How To4 min
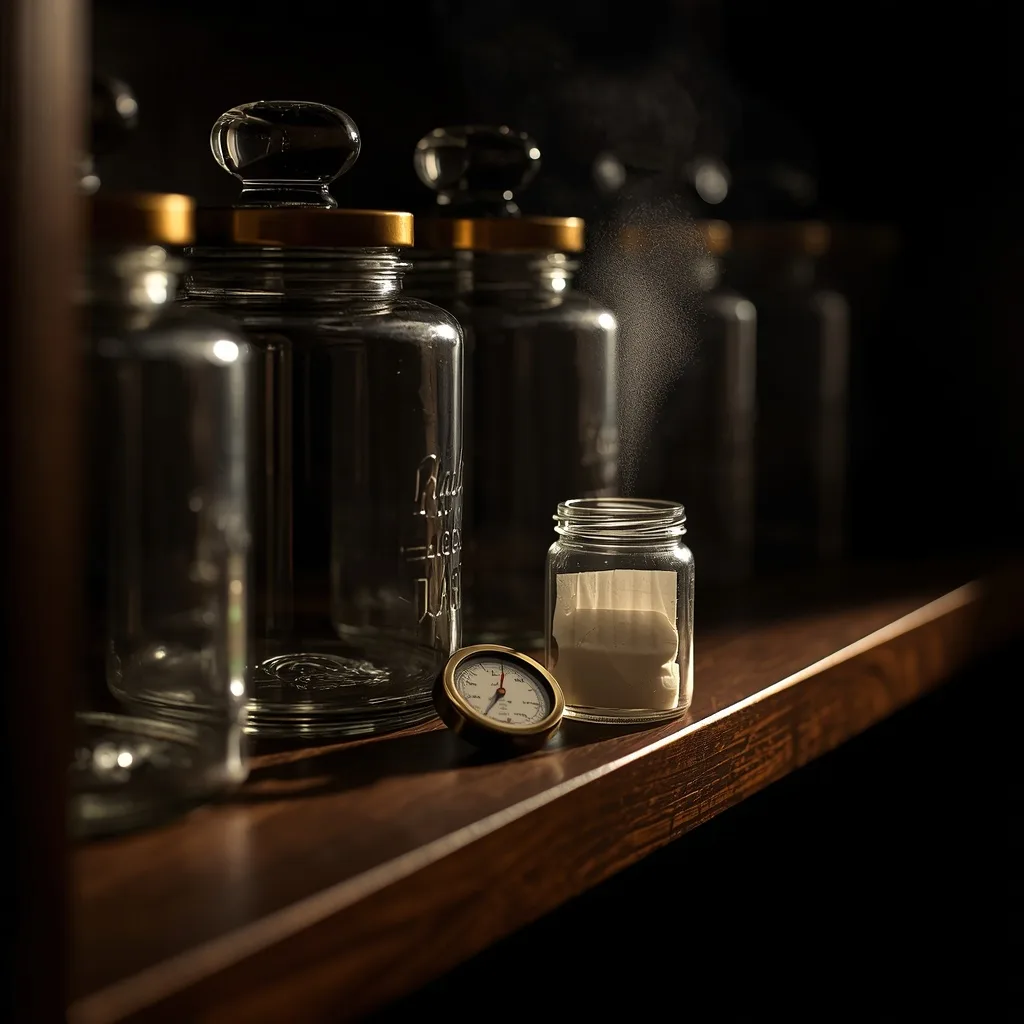
The Best Humidity for THCa Storage (And How to Keep It There)
The best humidity for storing THCa flower is 55–62% relative humidity — most connoisseurs run a 58% or 62% two-way humidity pack in a sealed glass jar. Below 50% RH terpenes evaporate and trichomes crumble; above 65% you risk mold. This guide covers the tools, the signs, and the fixes.
 How To4 min
Where to Buy THCa Online in 2026 (And How to Pick a Store You Can Trust)
The best place to buy THCa online is an official brand store that publishes lab results, shows real product photos, and ships discreetly under the 2018 Farm Bill. This guide gives you the full trust checklist — COAs, age verification, shipping policy — plus the red flags that scream 'skip this site.'
 How To2 min
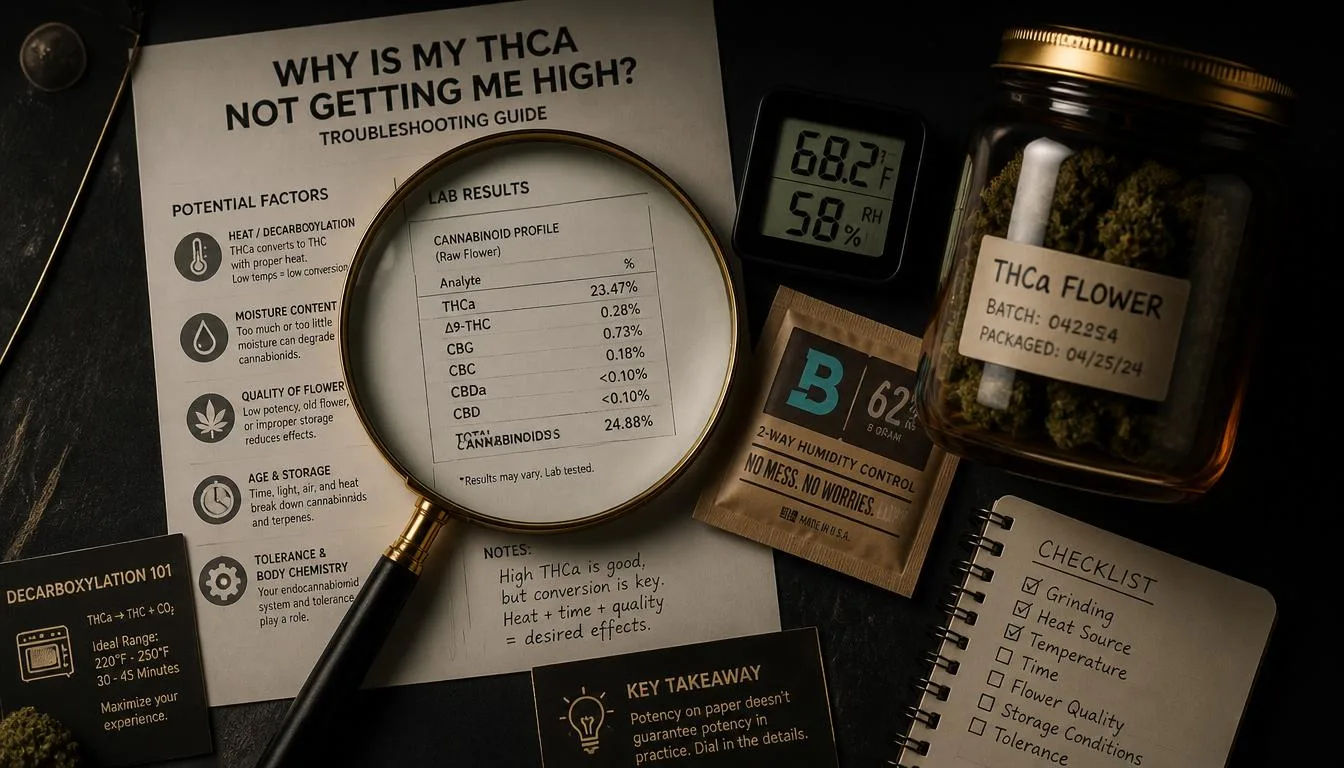
Why Is My THCa Flower Not Getting Me High?
Why is your THCa flower not getting you high? The most common cause is not enough heat to convert THCa to THC. Other culprits: flower degraded by poor storage, low-quality or mislabeled product, tolerance, or inhaling technique. Here's how to diagnose and fix each.
Get 5% off + the best reads in your inbox
Join 50,000+ subscribers. One short editorial email a week — unsubscribe any time.
No spam · unsubscribe in one click